



Imagine your raid team has been honing their skills for weeks, and you’re now standing before Kil’jaeden, the Deceiver himself, in World of Warcraft’s mythic Tomb of Sargeras.
As you ready yourself for the fight, you know that every member of your team must play their part flawlessly to claim victory against this formidable foe.
You’ll need to master the complex dance of dodging his deadly Felclaws, coordinating the group to handle Dark Marks, and navigating the shadowy realm of Illidan’s Sightless Gaze.
In the following discussion, you’ll uncover the nuanced strategies and essential tips that can transform an overwhelming challenge into a triumphant feat.
You’ll find yourself poised to orchestrate a performance that could become the stuff of legend, but remember, one misstep could spell disaster for your entire raid.
Stay with us as we unravel the secrets to defeating one of the most iconic adversaries in the game, ensuring you’re armed with the knowledge to lead your team to glory.
Understanding Kil’jaeden’s Mechanics
To effectively combat Kil’jaeden, it’s crucial to grasp his complex attack patterns and abilities. When you’re gearing up for normal difficulty, you’ll find his mechanics are challenging yet manageable, but don’t let your guard down. As you ramp up to heroic difficulty, his attack power spikes, demanding precision and quick reflexes to survive his onslaught.
By the time you’re facing Kil’jaeden on mythic difficulty, you’re in a different league. Every move you make has to be calculated; every ability he casts could be the end of your raid team if you’re not prepared. You’ll need to coordinate with your team flawlessly to mitigate the devastating effects of his attacks.
Don’t overlook the raid finder version if you’re new to the encounter. It’s a toned-down version, sure, but it’s a valuable training ground to familiarize yourself with Kil’jaeden’s basic mechanics without the pressure of higher difficulties. Mastering his patterns there will give you a solid foundation for tackling the tougher challenges ahead.
Optimal Raid Composition
Having a solid understanding of Kil’jaeden’s mechanics, you’ll now need the right mix of classes and roles to ensure your raid group stands a chance against this formidable foe. You’ll want to assemble a team that’s as balanced and versatile as the fabled heroes of Azeroth, such as Arthas Menethil before his fall, or the valiant night elves of old.
Start by enlisting a couple of demon hunters. Their mobility and damage output are invaluable, especially when dealing with Kil’jaeden’s adds and navigating the fight’s spatial challenges. Next, balance your team with a healthy number of ranged and melee DPS. Remember, having too many melee can complicate mechanics like shadow fissures, while too many ranged may struggle with burst damage when it counts.
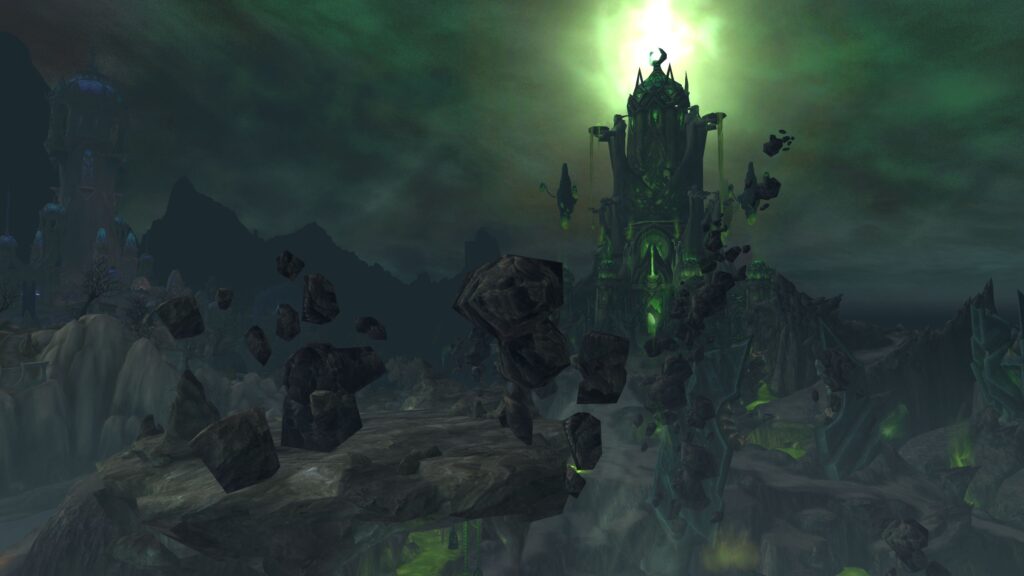
Ensure you have healers that can handle high burst damage and provide strong raid-wide healing. Discipline priests or holy paladins are great choices here, being able to prevent damage and heal through intense periods of the battle.
Lastly, don’t skimp on your tanks. You’ll need sturdy and reactive individuals who can withstand Kil’jaeden’s might and manage the rapid position changes without buckling under pressure. Balance, adaptability, and resilience are your watchwords here—embody them, and Kil’jaeden’s fall is all but assured.
Mastering Positioning and Movement
Mastering your raid’s positioning and movement is crucial to weathering Kil’jaeden’s onslaught and emerging victorious. Remember, he’s relentless, and a single misstep could spell doom for your team. Spacing is key; stay spread out to minimize the damage from his area-of-effect attacks, yet close enough to benefit from heals and buffs.
Kil’jaeden will cast ‘Felclaws’, targeting the tank. If you’re tanking, move him away from the group to avoid cleaving your allies. DPS and healers, stay on your toes—when Kil’jaeden targets someone with ‘Armageddon’, swiftly relocate to a safe zone or risk catastrophic damage to your raid.
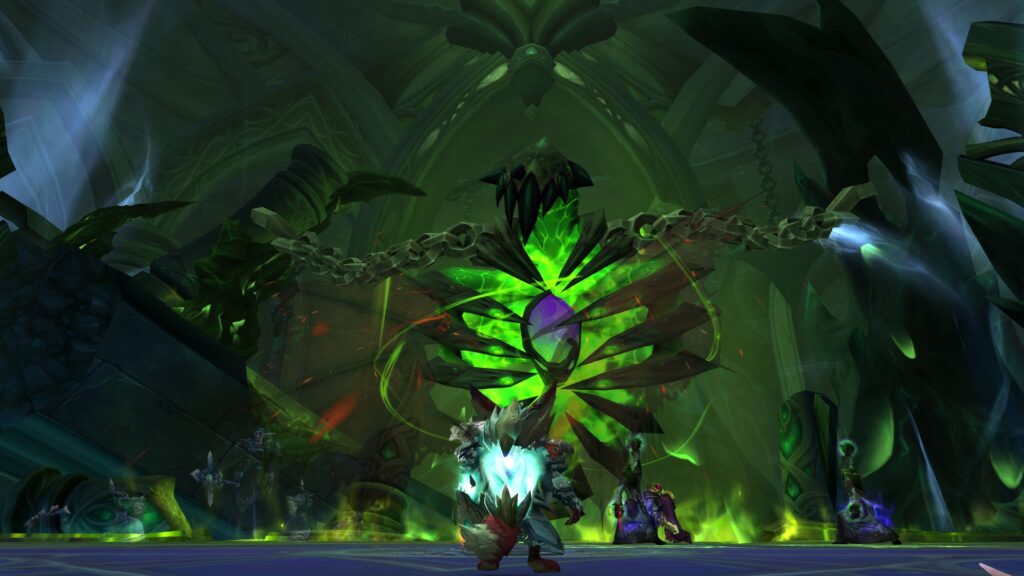
‘Darkness of a Thousand Souls’ is a cue to huddle up behind a pre-placed shield to survive. Mind the gap between you and the shield; too far and you’re toast, too close and you might block others.
Lastly, during the ‘Demonic Obelisk’ phase, position yourself smartly. Navigate the maze of obelisks with precision; a wrong turn isn’t just a setback, it’s potentially a raid-wiping error. Your dance with Kil’jaeden is a ballet of life and death. Ace your steps, and you’ll lead your raid to triumph.
Cooldown Management Strategies
When facing Kil’jaeden, managing your cooldowns effectively is as vital as dodging his deadliest attacks. You’ll want to prioritize your defensive cooldowns for when Kil’jaeden unleashes his most devastating abilities, like ‘Armageddon Blast’ or ‘Focused Dreadflame’. It’s all about timing—use them too soon, and you mightn’t have them ready when a life-threatening ability hits.
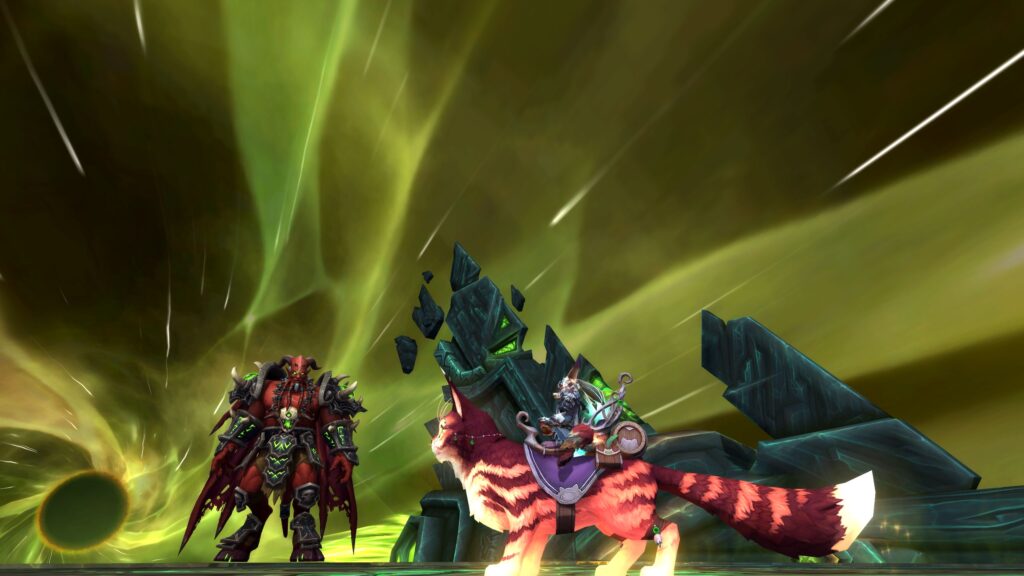
For healers, it’s crucial to have big healing cooldowns ready for ‘Lingering Eruption’ or when Kil’jaeden casts ‘Darkness of a Thousand Souls’. Communicate with your fellow healers to chain these abilities, ensuring there’s always one available for these high-damage phases.
DPS players, don’t just pop your offensive cooldowns at the start. Wait for moments when Kil’jaeden is most vulnerable, like during ‘Felclaws’, to maximize your damage output. And if you’re in charge of handling adds, save some burst potential to quickly bring them down.
Dealing With the Deceiver’s Tricks
How can you outsmart Kil’jaeden’s deceptions, a key to surviving the encounter and ultimately defeating this cunning foe?
First, you’ll need to recognize his illusions. He’s infamous for casting Shadow Reflection, creating sinister duplicates of raid members. You’ve got to identify and eliminate these duplicates quickly before they overwhelm your team. Stay alert, and communicate with your party to target these reflections efficiently.
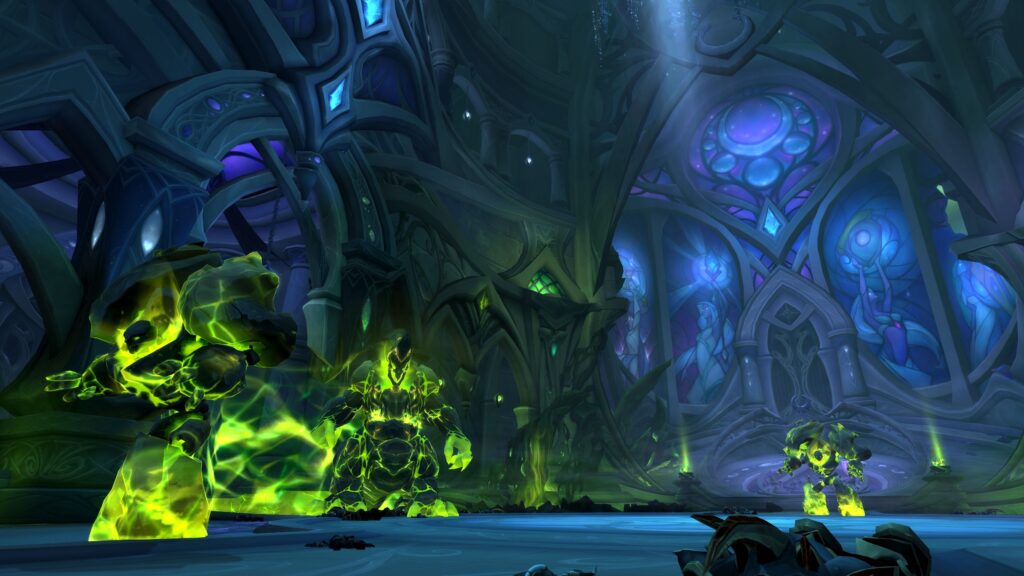
Next, watch out for Darkness of a Thousand Souls. This devastating ability can wipe your raid if not handled correctly. You’ll see a large, purple swirling animation—when you do, take cover behind the Armageddon Echoes that have fallen from the sky. If there’s no echo nearby, use your damage mitigation abilities to survive.
Conclusion
Now you’ve waltzed through the storm, with every step measured and every move in harmony with your raid. Kil’jaeden’s defeat is the crescendo of your symphony, a testament to your collective finesse.
Remember, the dance with fate is intricate, but you’ve mastered the rhythm of survival and the melody of victory. Keep your feet light, your coordination tight, and Kil’jaeden will fall, a mere shadow in the ballroom of your triumph.